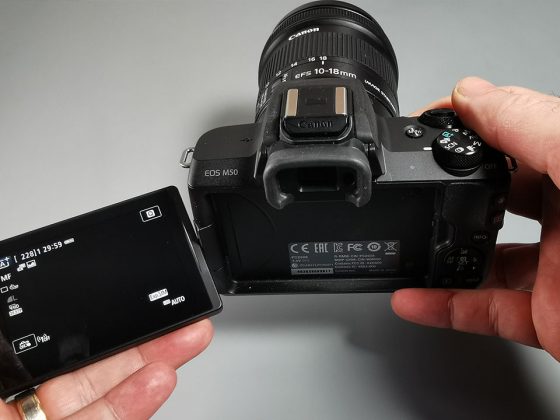
The following tutorial aims to help you to configure a Wi-Fi connection on you Canon M50 to allow you remote control of the camera from a computer.
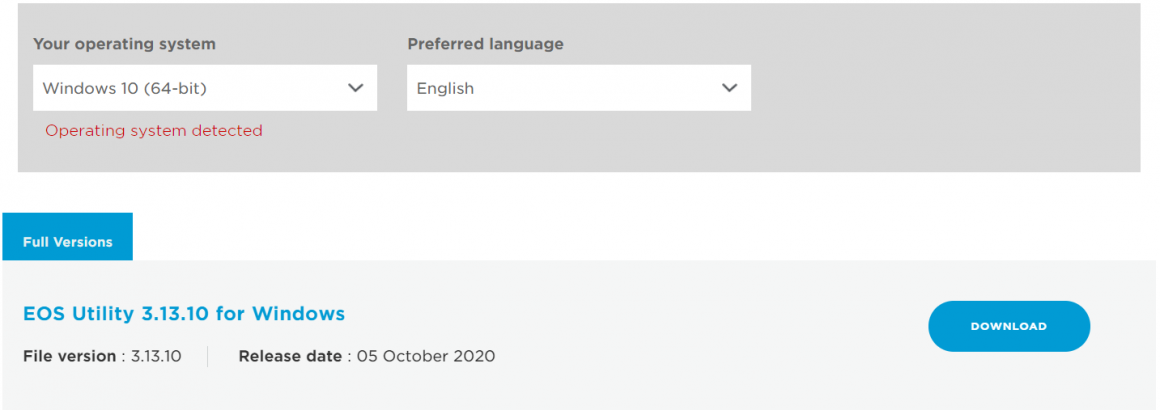
Before you start configuring your Canon M50, you have to install the Canon EOS Utility 3 application on your computer.
To that end, you’ll have to go to the Canon website and download the application clicking on the this download link.
After you have installed the Canon EOS Utility 3 application, you’re ready to configure your Canon M50 following these steps:
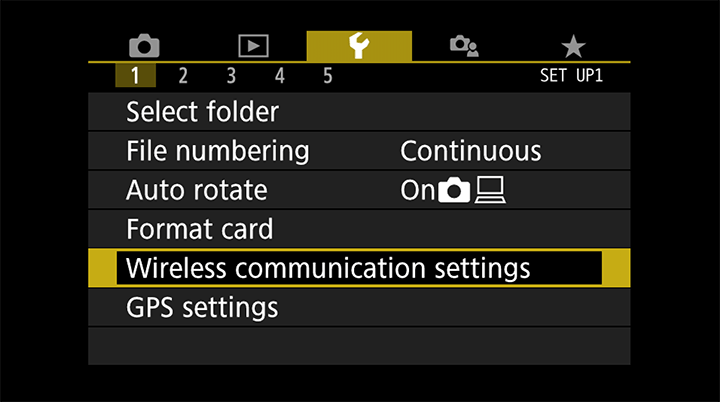
1. Go to the Canon M50 menu and select the Wrench tab. There you’ll select the Wireless comunication settings option.
2. In the Wireless communication settings menu, select Wi-Fi settings option
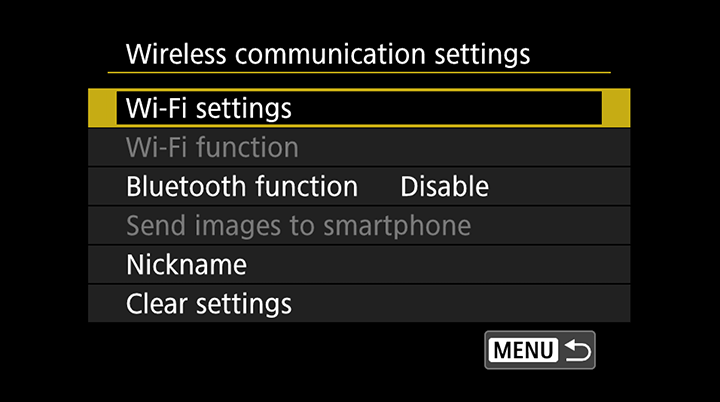
3. In the Wi-Fi settings menu, check if the option Wi-Fi is disabled Disabled, if it is, you’ll have to change it to Enabled.
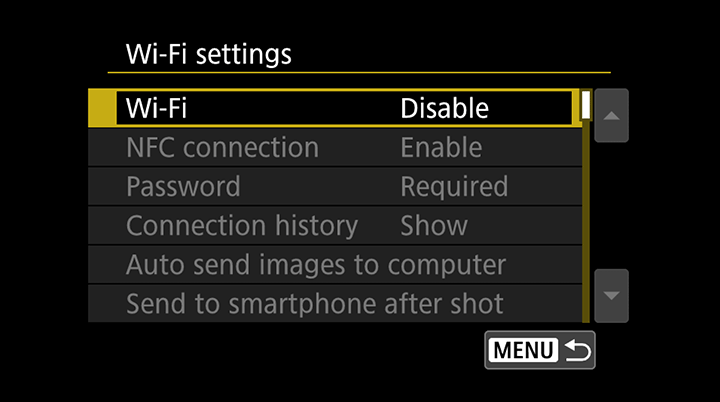
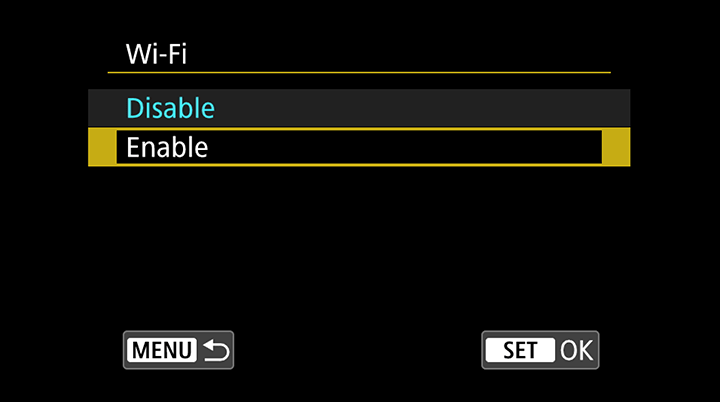
4. After enabling Wi-Fi on your Canon M50, it will be asked to select a nickname for the camera,. “EOSM50” will be suggested but you can insert another name.
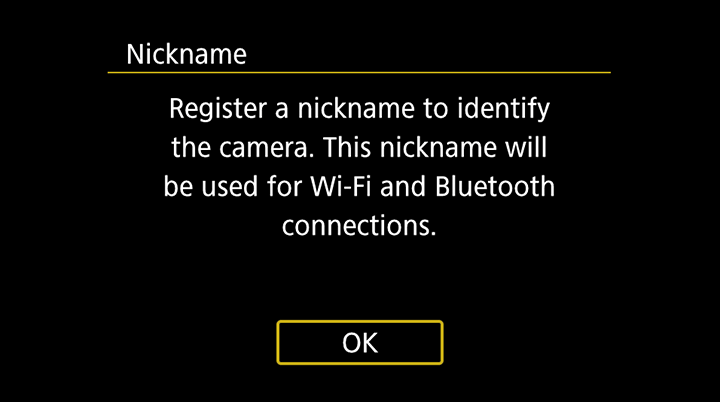
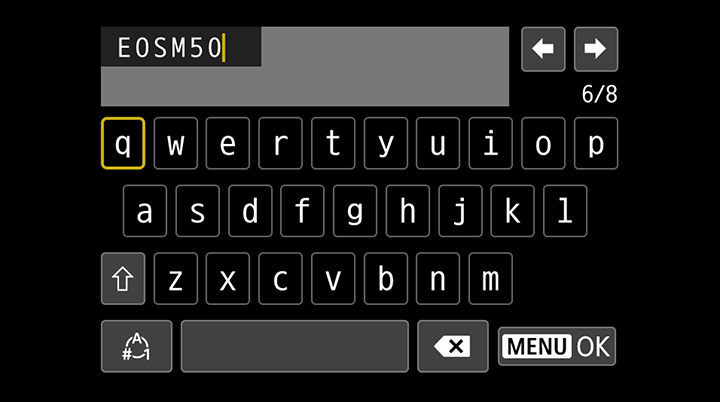
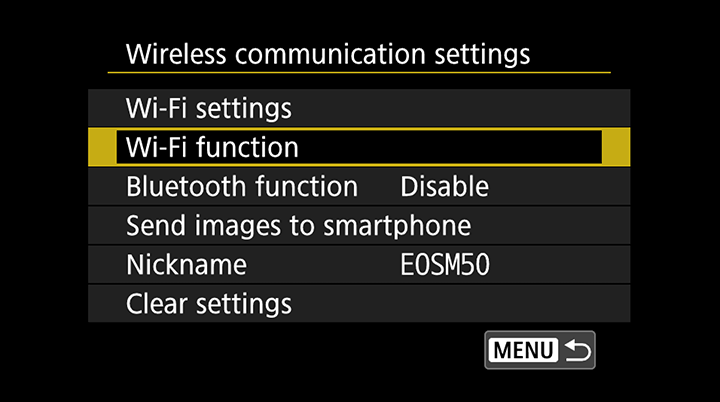
5. With the Wi-Fi enabled and the nickname set, you’ll return to the Wireless communication settings menu and you’ll select Wi-Fi function option
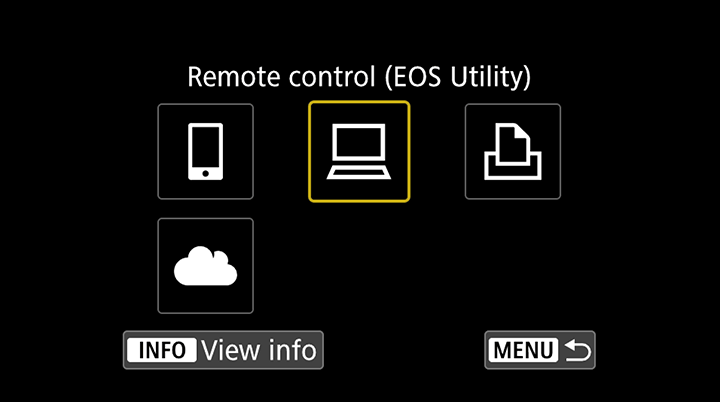
6. Once the Wi-Fi function option is selected, Remote control (EOS utility) screen will appear.
Select the laptop icon to proceed.
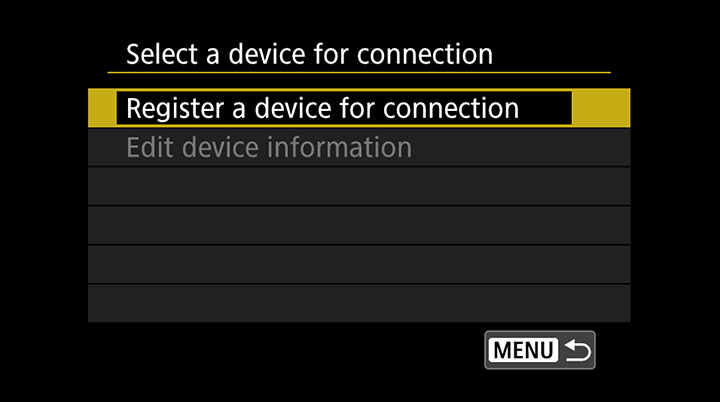
7. Once laptop option is selected, you’ll be able to select the Register a device for connection option
8. Your Canon M50 will then start searching for available networks
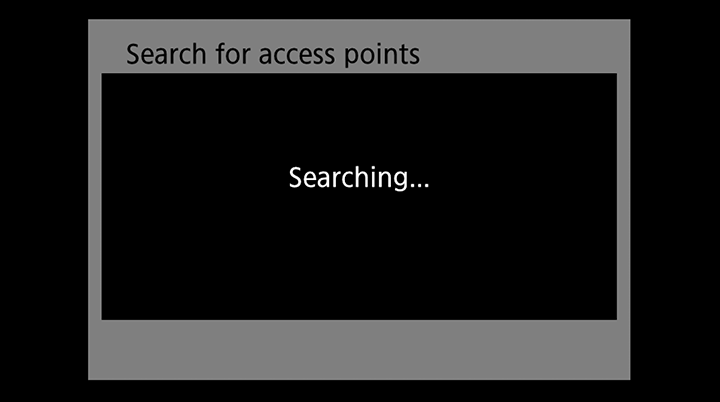
9. A local access point to the camera screen will appear. You will ignore this and select Switch network option to proceed
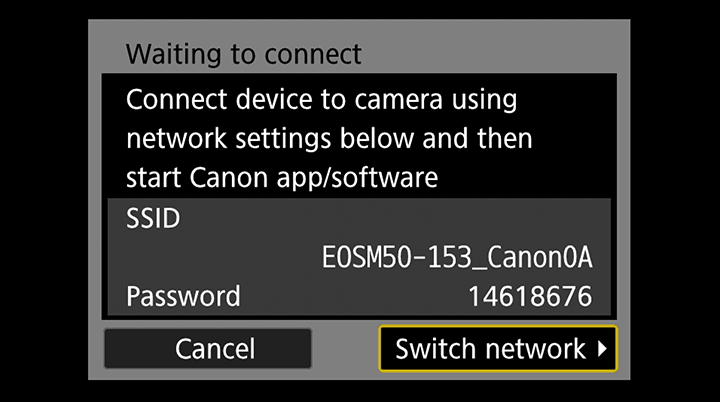
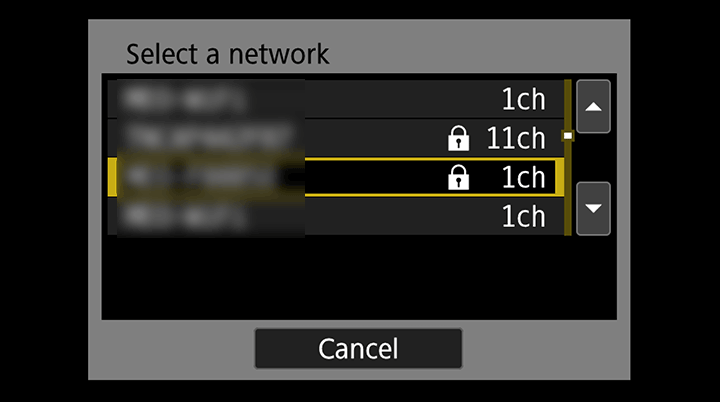
10. On the available Wi-Fi list, please select your and continue
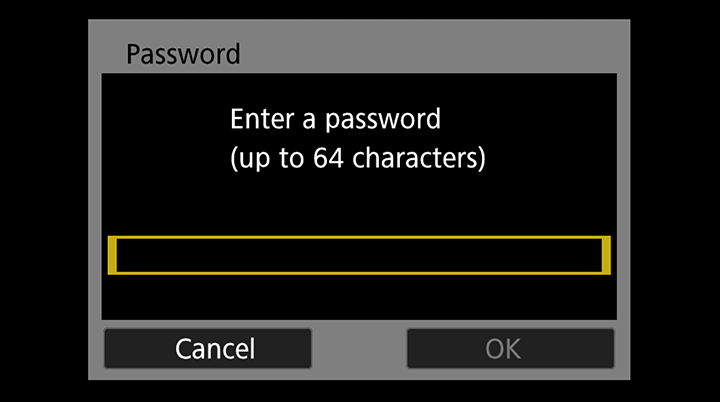
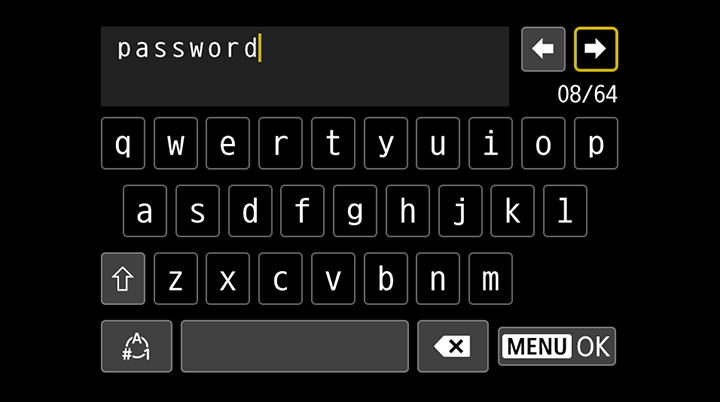
11. When requested, please insert your Wi-Fi password to continue
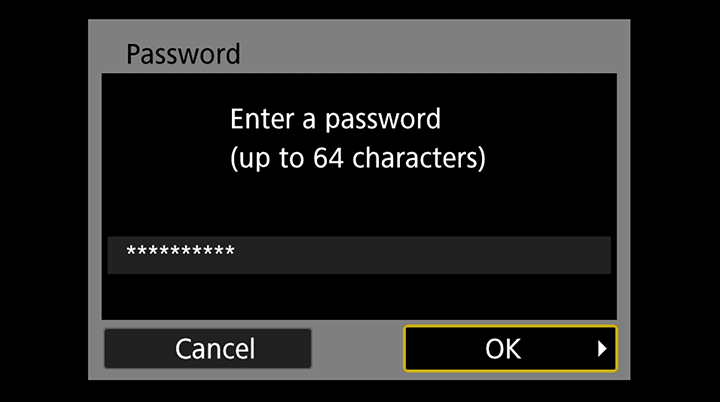
12. You’ll then wait that your Canon M50 connects to the Wi-Fi network.
If it fails to connect, please review your password and make sure that the password you inserted is really the network Wi-Fi password.

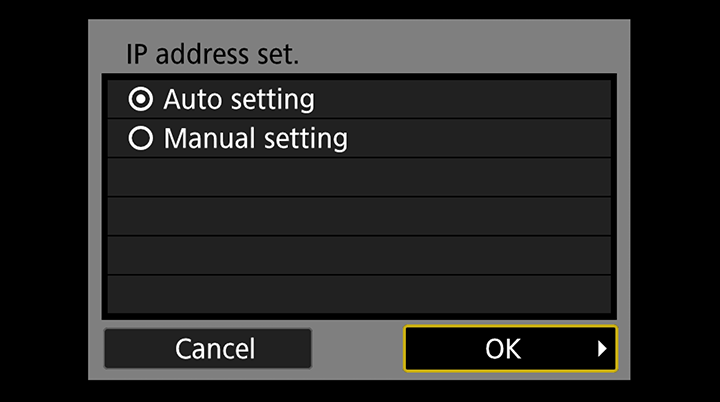
13. On successfull connection, you’ll be asked to use a DHCP auto IP or to insert a manual static IP. In this tutorial we’ll leave the Auto setting option selected and press OK to continue
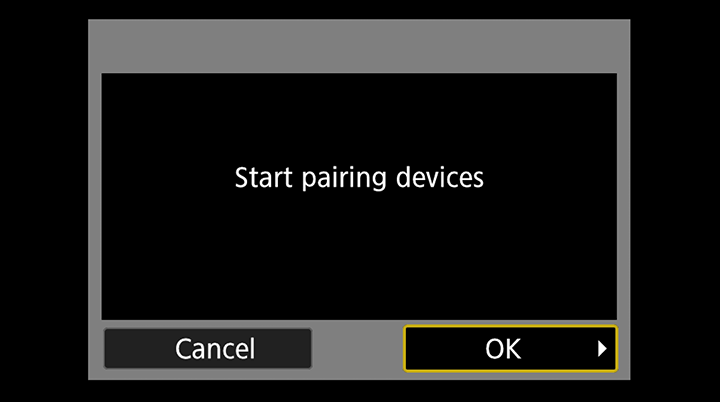
14. When asked Start pairing devices you’ll press OK to continue
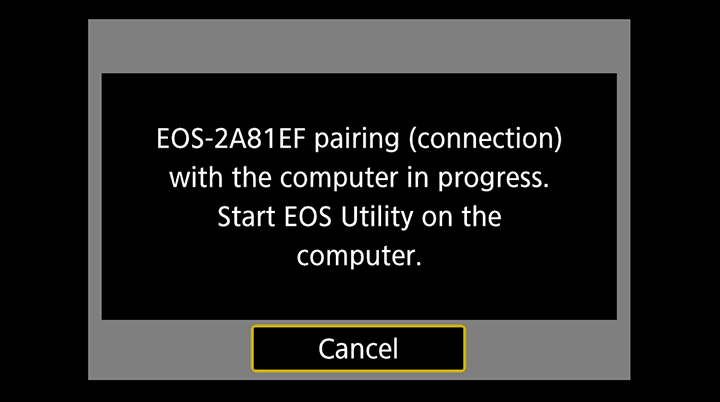
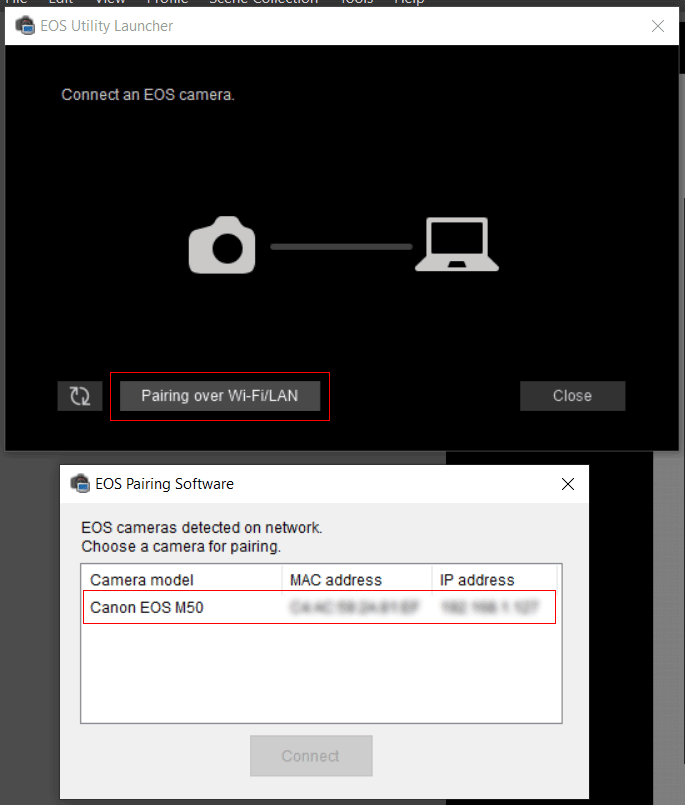
15. At this point, in the computer and after you have started the Canon EOS Utility 3 the following screen will appear where you’ll click on Pairing over Wi-Fi/Lan.
On the window that will open (EOS Pairing Software) select your Canon M50 from the list and press Connect to continue.
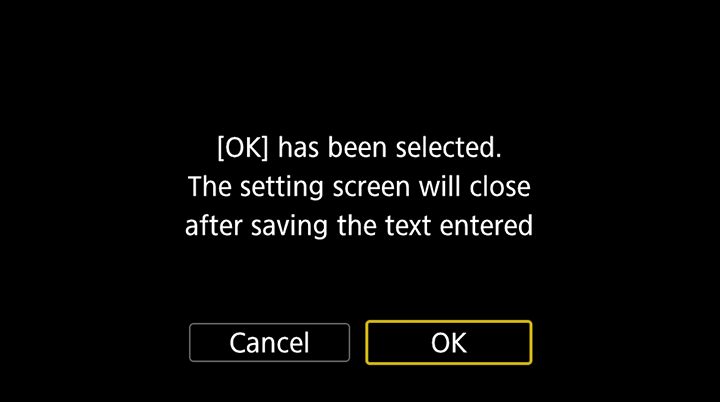
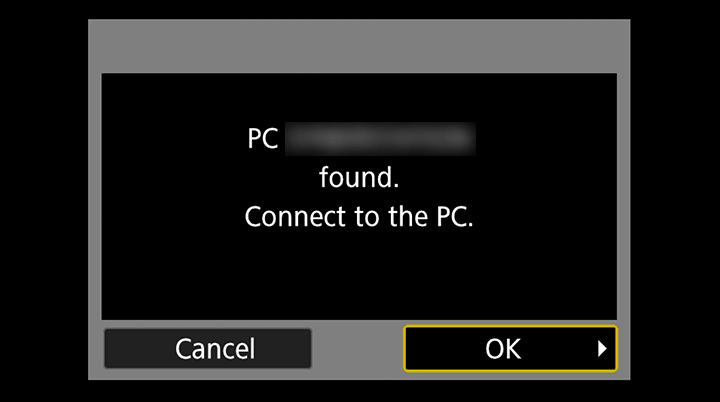
16. If you did everything as you’re supposed to until now, the following screen will appear on your Canon M50 and you’ll press OK to continue,
After this your Canon M50 will be paired with the computer.
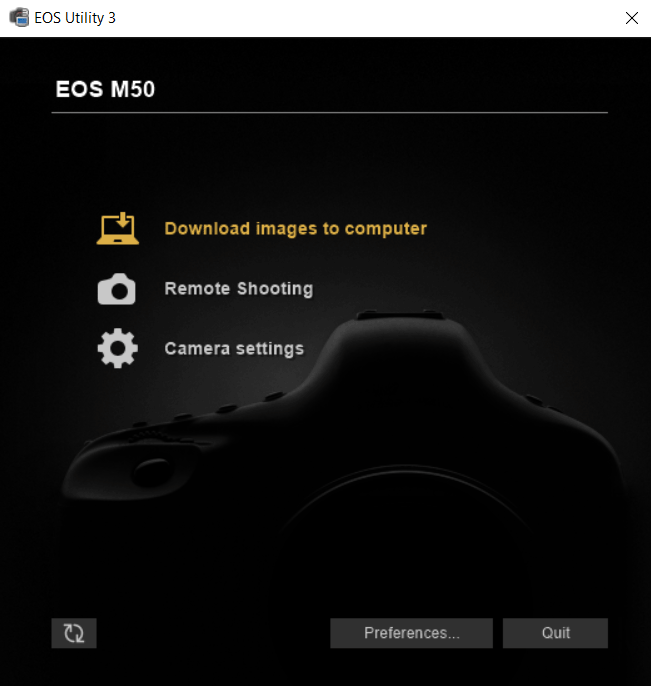
17. After the the connection, the Canon EOS Utility 3 application will open automaticly and will allow you to remote control you camera with these 3 options:
- Download images to computer
- Remote Shooting
- Camera settings
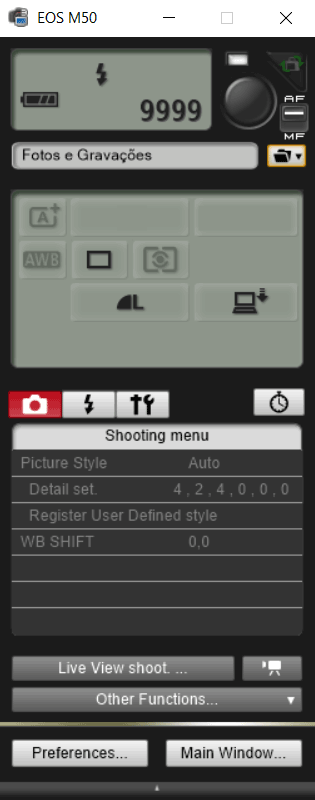
18. Bellow you can see the Remote Shooting screen that will allow you to:
- Shoot remotelly photos or start recording
- Preview camera image
- Change camera settings
- Those between a lot of features available…
We hope that you liked this tutorial, if you have any doubts please leave them on the comments section.
Thank you for reading this article. ❤
If you liked, please share it, spread the love, pass the message on social networks and help us grow.
